
You know that feeling I’m talking about—it’s that moment we can all relate to, right?
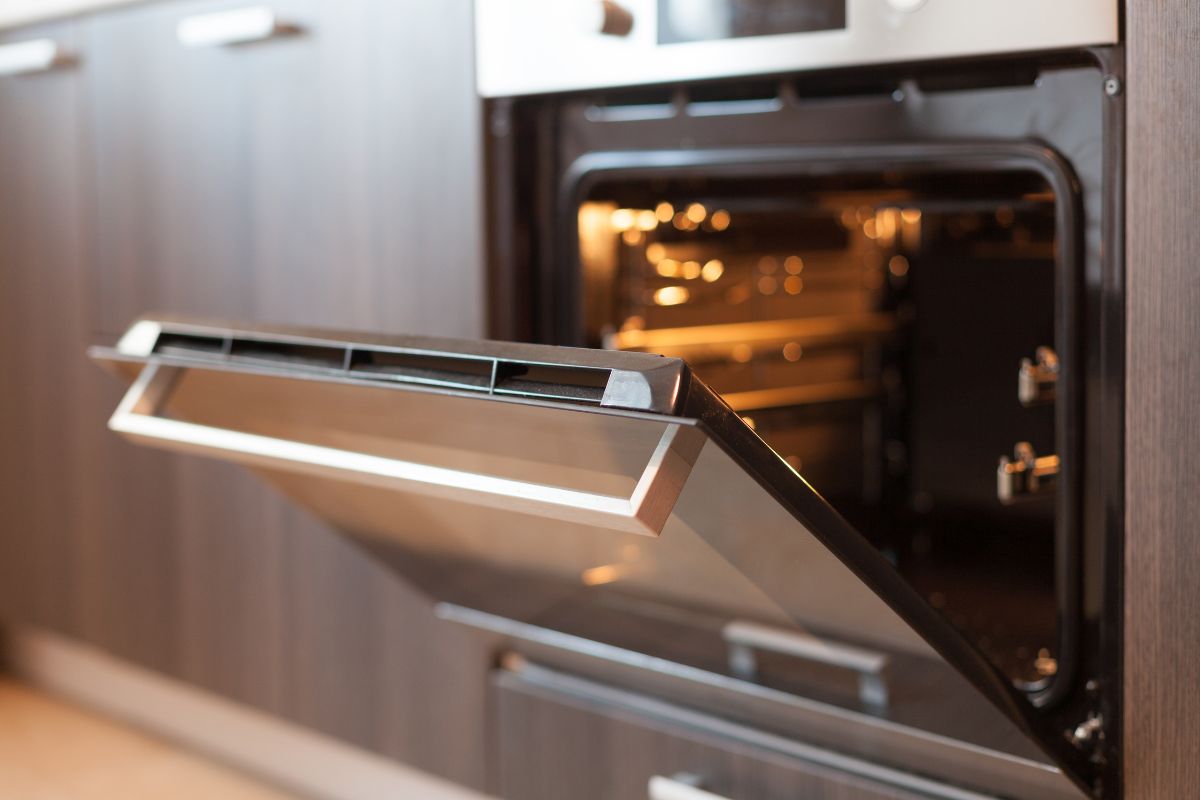
It’s that heart-pounding moment just before you pull out that golden-brown beauty you’ve been dreaming about from the oven. You followed the recipe to a T. You measured everything with care. Your butter was perfectly softened. You set the dial to that magic number we all trust: 350°F.
But then, reality hits hard.
The cake that was meant to be a glorious triumph, tall and perfectly domed, has crumbled into a sad, sticky mess. Your once-promising batch of chocolate chip cookies is pale and undercooked in the middle, while the edges are somehow burnt and brittle. And that ambitious loaf of sourdough? It’s charred on the bottom and still doughy in the center.
We often end up blaming ourselves, don’t we?
“I shouldn’t have used this flour.”
“I must have beaten the eggs too long.”
“Maybe I’m just not cut out for this.”
That emotional weight—the sting of wasted ingredients and the disappointment of a cherished memory gone awry—is something every home cook knows all too well. It chips away at our confidence, meal after meal, until the kitchen feels less like a creative haven and more like an unpredictable battleground.
We trust that glowing digital display or the reassuring click of the thermostat dial. We believe that number is a promise.
But what if I told you that dial might be misleading you? What if the reason your baking feels like a never-ending, frustrating gamble isn’t about your skills, but rather a hidden, mechanical flaw in the very appliance you depend on?
This isn’t about personal shortcomings. It’s about a hidden, systemic inconsistency at the heart of your kitchen—the same inconsistency that leads professional bakers to ignore the thermostat and trust their own, much more reliable, methods.
It’s time to stop blaming yourself for the oven’s little secret and start uncovering the truth that will finally set your baking free.
The Emotional Cost of the Unreliable Oven
The kitchen should be a cozy space where you can let your creativity shine. But when your cooking results are all over the map—like nailing a recipe one Tuesday and then having it bomb the next Wednesday—it can really knock your confidence down a peg.
Think about it: how many times have you walked away from a challenging recipe, not because it was too complicated, but because you just didn’t trust how it would turn out? You end up sticking to the basics, relying on your trusty stovetop, all because your oven has let you down time after time.
This kind of frustration is exactly what professional bakers work hard to avoid. They thrive in a high-pressure environment where just a few degrees can mean the difference between a perfectly flaky croissant and a tray of soggy disasters. They understand that to achieve consistent results, you need to take charge of the variables.
So, what’s the first thing they focus on? The built-in thermostat of the oven.
Here’s a surprising fact: most home oven thermostats can have a pretty significant margin of error. The actual temperature inside your oven can be off by as much as 25°F to 50°F from what you set it to.
This means your food is being cooked in a temperature range that’s far more unpredictable than the recipe suggests, and you’re interpreting those inconsistent results as a reflection of your own cooking abilities. Realizing this should help clear away that cloud of self-doubt. It wasn’t you; it was the oven’s sneaky, fluctuating quirks all along.
The Science of the Swing: Why Your Oven is a Temperature Rollercoaster
 1")
To really get the hang of your oven, it’s crucial to understand where it often goes off track. The inconsistency comes down to two main, interconnected scientific concepts: the heating cycle and uneven heat distribution, along with the fundamental differences between gas and electric systems.
1. The Unforgiving Temperature Cycle: A Wild Ride
When you set a temperature for your oven, the heating element doesn’t just maintain that heat. Instead, it works in a cycle managed by a simple electro-mechanical thermostat:
- The Low Point: The thermostat notices that the temperature has dipped just below the set point (for example, 340°F when you’ve set it to 350°F).
- The Blast: The heating element kicks in, sending heat into the oven.
- The Overshoot: Since it takes a moment for the element to warm up, the air and surfaces inside (especially in electric ovens) can overshoot the target temperature, sometimes reaching 370°F or even 380°F.
- The Drift: Once the element turns off, the temperature gradually drops back to the low point, and the cycle starts all over again.
This unpredictable temperature behavior can create problems, especially for delicate baked goods. It’s almost as if the oven has its own personality, with temperatures swinging wildly—this can be the fine line between a perfectly golden crust and a burnt mess. When you’re working with sensitive ingredients, every single degree counts, and these sneaky temperature fluctuations can quietly derail your baking dreams.
- Sinking Cakes: That sudden heat surge (the overshoot) causes the leavening gases to expand too quickly, pushing the cake’s structure beyond its limits. When the temperature drops during the cycle’s downturn, the weakened structure can’t hold up.
- Hard, Dry Crusts: The prolonged high-heat phase can set and dry out the outer layer before the inside has had a chance to cook through properly.
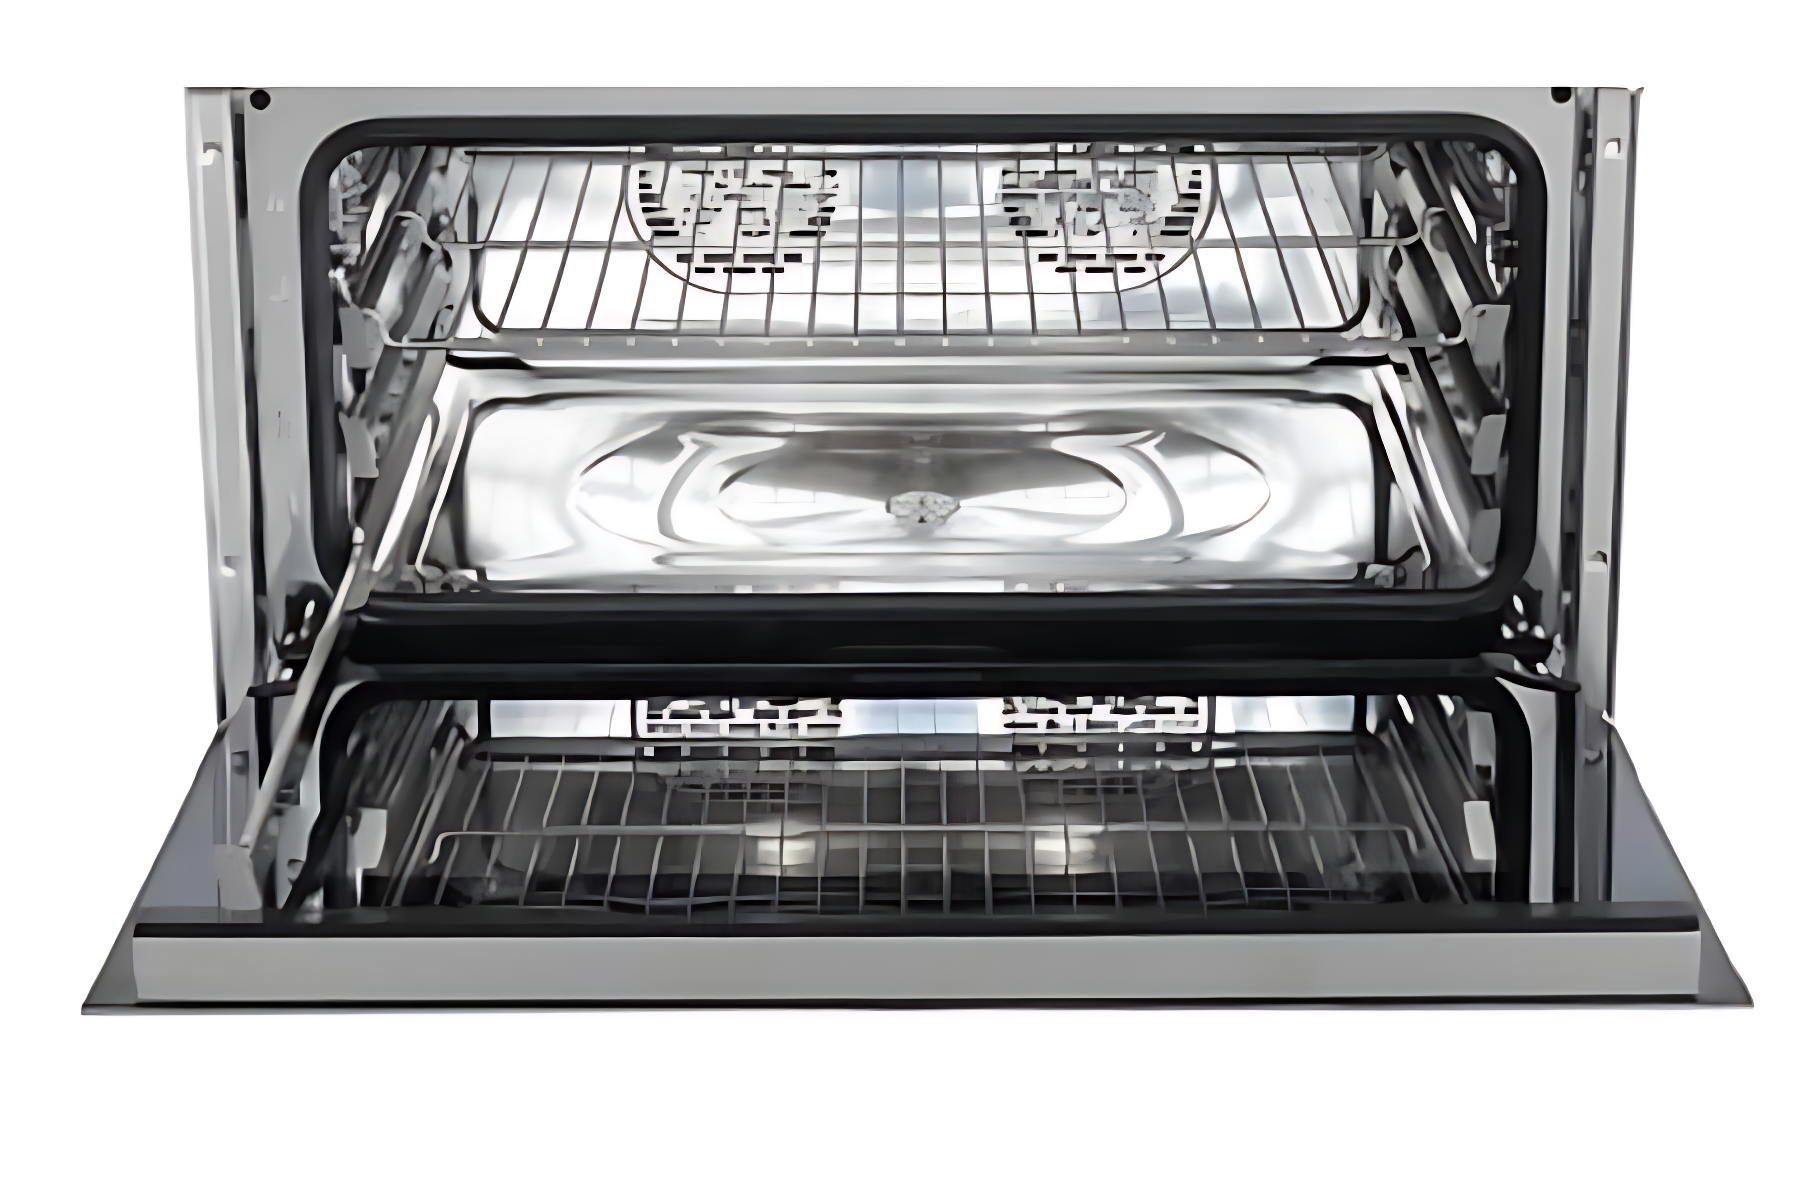
2. The Geography of Hot Spots: Convection vs. Radiation
When it comes to how heat spreads around your oven, things can get a little complicated. You might notice that some spots are hotter than others, which is what we call hot spots and cool spots.
Even seasoned home cooks can find themselves caught off guard by their oven’s quirks. It’s not uncommon for temperatures to vary significantly between the front and back of a rack, sometimes by as much as 40 degrees! This hidden challenge can turn even the simplest recipe into a true test of patience and skill. But don’t fret—armed with a little knowledge and some clever techniques, anyone can master oven cooking and create dishes that are truly unforgettable.
This uneven heating is linked to the two primary ways heat travels in your oven:
- Radiant Heat (Direct): This heat comes directly from the glowing heating elements, particularly the exposed broiler or top element. It’s why your food can end up burnt on the top or bottom if it’s positioned too close to the source.
- Convective Heat (Air Flow): This is the heat that moves through air currents, often rising up the back of the oven and swirling around the sides. That’s why the back corners tend to be warmer.
The Gas vs. Electric Distinction:
Gas Ovens: These ovens are known for being a bit more humid since they produce water vapor during combustion, and you can usually see the flame flickering at the bottom. This design means they deliver a strong, steady heat right where you need it, which is perfect for achieving that lovely golden-brown crust on your dishes.
Tip: For the best results, consider placing your items on the upper racks or using a protective shield (more on that later).
Electric Ovens: In contrast, electric ovens tend to be drier and heat up with coils that cycle on and off. This can cause some noticeable temperature changes, but when the elements are active, they typically provide a more consistent radiant heat.
Tip: To tackle those temperature fluctuations, try using thermal mass to help keep things stable.
Getting to know these little quirks isn’t just interesting; it’s the first step in forming a great relationship with your appliance.
The Baker’s Eye: Reclaiming Control and Confidence
 2")
The trick isn’t to get rid of your oven; it’s about learning to stop depending entirely on what it tells you. Instead, start connecting with the reality of how it actually works. This shift can turn you from feeling like a frustrated victim into a confident master of your baking space..
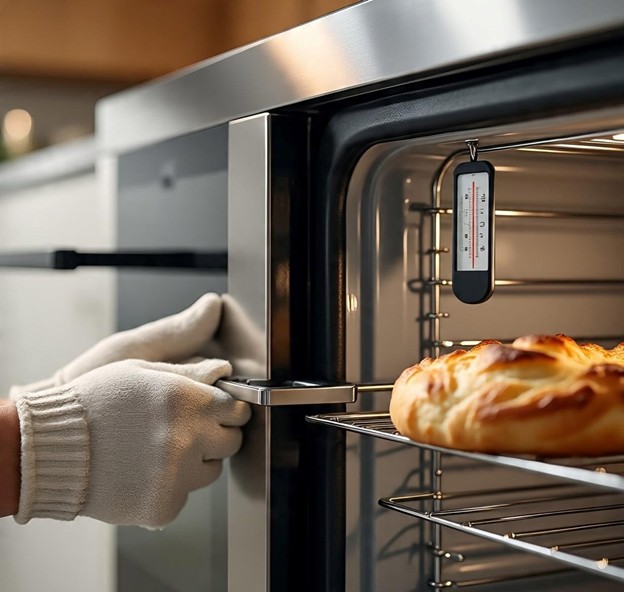
The Foundational Tool: The $10 Independent Thermometer
This is the most important step you can take. You’ll want a device that’s completely separate from that tricky thermostat. A straightforward, high-quality oven thermometer, placed right in the center of your oven rack, will be your trustworthy companion.
How to Use It Like a Pro:
1. Placement is Key: Make sure to position the thermometer exactly where your food will be (like right in the center of the middle rack).
2. Wait an Hour: Set your oven to 350°F and let it sit for a full hour after the preheat beep goes off. This gives the oven time to go through several heating cycles and truly reach a steady temperature.
3. Find Your Offset: If your dial says 350°F but your thermometer reads 325°F, congratulations—you’ve just found out that your oven runs 25°F cold. Now you have solid information to work with.
4. The Rule of Compensation: From now on, just adjust accordingly. If a recipe calls for 350°F, set your misleading dial to 375°F. You’re no longer guessing; you’re using a precise formula.
This immediate, verifiable feedback is the confidence boost you’ve been looking for.
The Power of Thermal Mass: Anchor Your Heat
As we discussed, those temperature fluctuations can really mess things up. To keep those wild highs and lows under control, the best approach is to use a thermal anchor—a solid piece of material that holds onto heat and releases it back into the oven.
So, what do bakers typically choose? A baking steel or a sturdy unglazed ceramic stone.
• Place this anchor on the lowest or second-lowest rack.
• The stone absorbs a lot of heat while the oven is preheating.
• When you open the door (which can cause the temperature to drop by 50°F or more in a flash), the stone quickly gives off that stored heat, acting like a temperature battery.
This really helps reduce those temperature drops and creates a much more stable, even environment, which is crucial for getting that perfect bread crust and evenly baked centers. Learn how to maximize the heat retention properties of a baking steel for perfect crusts
Advanced Hacks for Oven Mastery
 3")
Now that you know the truth and have your tools, let’s go deeper with the practical knowledge that separates the good bakers from the great ones.
The Psychology of Rack Placement
Forget what you’ve heard about “always use the center rack.” The perfect rack height depends entirely on what you are baking and your oven’s unique flaws.
• Bottom Rack: Best for items needing a lot of lift and bottom crust development (e.g., pizza, artisan bread, or items in a slow cooker). Use caution in gas ovens due to the direct flame.
• Top Rack: Ideal for things needing intense, direct radiant heat for browning, like a meringue topping, the last few minutes of a casserole, or crisping things up. Avoid long bakes, as the radiant heat will likely burn the top before the middle is done.
• The Pro Move (Rotation): If you discover a significant hot spot (e.g., the back-right corner is always 20°F hotter), you must rotate your pan 180 degrees halfway through the baking time. This isn’t a sign of bad baking; it’s a necessary compensation for your oven’s poor engineering.
The Aluminum Foil Shield Trick
You’ve likely experienced the frustration of a pie crust or a casserole top browning perfectly five minutes into the bake, leaving the remaining time a death sentence for the edges.
The Hack: Keep a sheet of aluminum foil crimped around the edges of a cookie sheet. When the crust is perfectly browned, slide the foil sheet over the top of your item like a little roof.
The foil reflects the radiant heat (mostly from the top element) back into the oven cavity, allowing the remaining convective heat to finish cooking the inside without burning the exterior. This simple, non-verbal act is a professional signal: you are actively controlling the heat, not just passively accepting it.
The Deadly Habit: The Peeking Problem
We all do it, right? That little twinge of anxiety hits us, we catch a whiff of something delicious, and suddenly, we’re tempted to crack open the oven door for just a quick peek. But wait a second!
One of the trickiest parts of baking is finding that sweet spot between checking on your treats and letting them do their thing. We all feel that urge to sneak a glance, but that brief moment when the oven door swings open can let in a rush of cool air, disrupting the cozy warmth that’s working wonders on your goodies. It’s a gentle reminder that sometimes, the best thing to do is step back, trust the process, and let the oven work its magic.
This sudden drop in temperature is the arch-nemesis of yeast and chemical leaveners like baking soda and baking powder. That quick chill can stop the setting process in its tracks, often leading to a collapse, especially for delicate creations like soufflés, angel food cakes, and yeasted breads during their initial rise.
There’s a real art to nurturing your baked goods—a gentle touch that’s tough to master but essential for success. Instead of constantly peeking, try using the oven light to keep an eye on things—it’s like having a little window into the baking universe. And when you do need to step in, make it quick and purposeful, waiting until your treats are almost set before making any adjustments. It’s all about finding that balance between attention and restraint, allowing your baked goods to develop their full flavor and texture.
The Water Bath (Bain-Marie) for Gentle Heat
For high-moisture items like cheesecakes, custards, or pâtés, the gentle, uniform heat of a water bath is non-negotiable.
The water acts as a buffer. Because water cannot get hotter than 212°F (100°C) at sea level, it shields the delicate mixture from the oven’s harsh, volatile temperature surges. This eliminates the cracking, curdling, and over-baking that ruins these items.
Beyond the Dial: A New Relationship with Your Kitchen
Getting the grasp of your oven isn’t just about sharpening your cooking skills; it’s really about reclaiming that sense of control and predictability in your kitchen. It’s about transforming what often feels like a frustrating task into something genuinely inspiring.
When we realize that our past kitchen disasters stemmed from a specific, fixable issue with the equipment—and not from our own shortcomings—it’s like a massive weight has been lifted off our shoulders.
The most skilled bakers, whether they’re professionals or home cooks, don’t necessarily have fancier ovens; they just have a deeper understanding. They make the most of their tools, like a reliable thermometer or a baking stone, to turn that temperamental machine into a reliable ally. They’ve learned to communicate with heat.
By embracing these few effective strategies, you’re moving from a place of blind trust in misleading numbers to relying on solid data and informed decisions. You’ll find yourself in that sweet spot that comes from working in a consistent environment, where your intentions finally match the results.
This journey is about more than just elevating your cooking; it’s about rebuilding your confidence. It’s the end of second-guessing yourself in the kitchen. It’s the thrill of serving that perfectly baked, even cake and knowing, without a doubt, that you—and not just luck—made it happen.
So go ahead, grab that thermometer. Trust the numbers that aren’t shown on the dial. And see what happens when you stop letting a little trickery from a machine derail your biggest culinary dreams. The power to create amazing dishes has always been within your reach, not just on your dial. For those curious about diving deeper into appliance specifications and thermal engineering, check out the allowed temperature tolerances for home cooking appliances.