

The first time I cleaned a truly filthy oven, I nearly gave up. I remember opening the door and being hit with this mix of old grease, burnt cheese, and something I still can’t identify. It was baked into every corner. I had been putting it off for months, thinking it wasn’t that bad. But the day I roasted chicken and the kitchen filled with smoke? That was my wake-up call.
Oven cleaning isn’t just about keeping things looking nice. It affects how your food tastes. It can make your kitchen smell better. And most of all, it keeps your oven working the way it’s supposed to.
In this guide, I’ll show you what actually works. From the tools I keep under my sink to the shortcuts I use when I’m short on time. I’ll also share a few mistakes I made so you don’t have to. Whether you’re using store-bought sprays or baking soda and vinegar, there’s a method that will work for your oven.
Let’s start with the basics.
Table of Contents
Do You Really Need to Clean It Yet?
So how do you know when your oven actually needs cleaning?
Here’s what I look for:
- Burnt smell every time the oven heats up
- Smoke coming out when there’s nothing even inside
- Food taking longer to cook or coming out uneven
- Visible grease buildup, crusty bits on the bottom, or cloudy glass
If you’re noticing any of those, it’s time. Waiting until it’s caked in mess isn’t a plan. And trust me, I’ve done that. I used to wait until the whole kitchen smelled like last week’s lasagna. Don’t be me.
As for how often? That really depends on how much you use it. If you cook daily, you might want to give it a deep clean every couple of months. If it’s just weekend dinners, you can stretch that to every three or four. But wiping it down after messy meals can save you a lot of work later.
The Right Way to Clean an Oven (Step-by-Step)
Let me walk you through how I clean my oven, step by step. No shortcuts, no fluff—just what actually works.
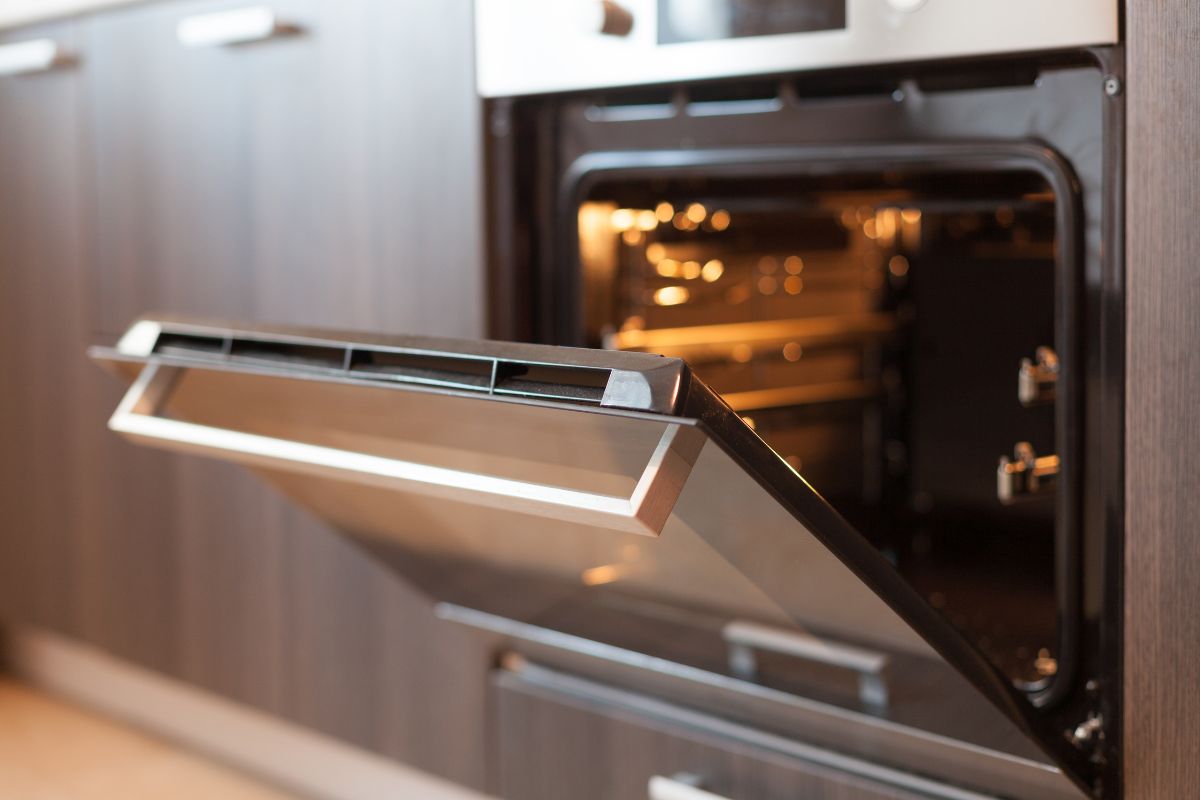
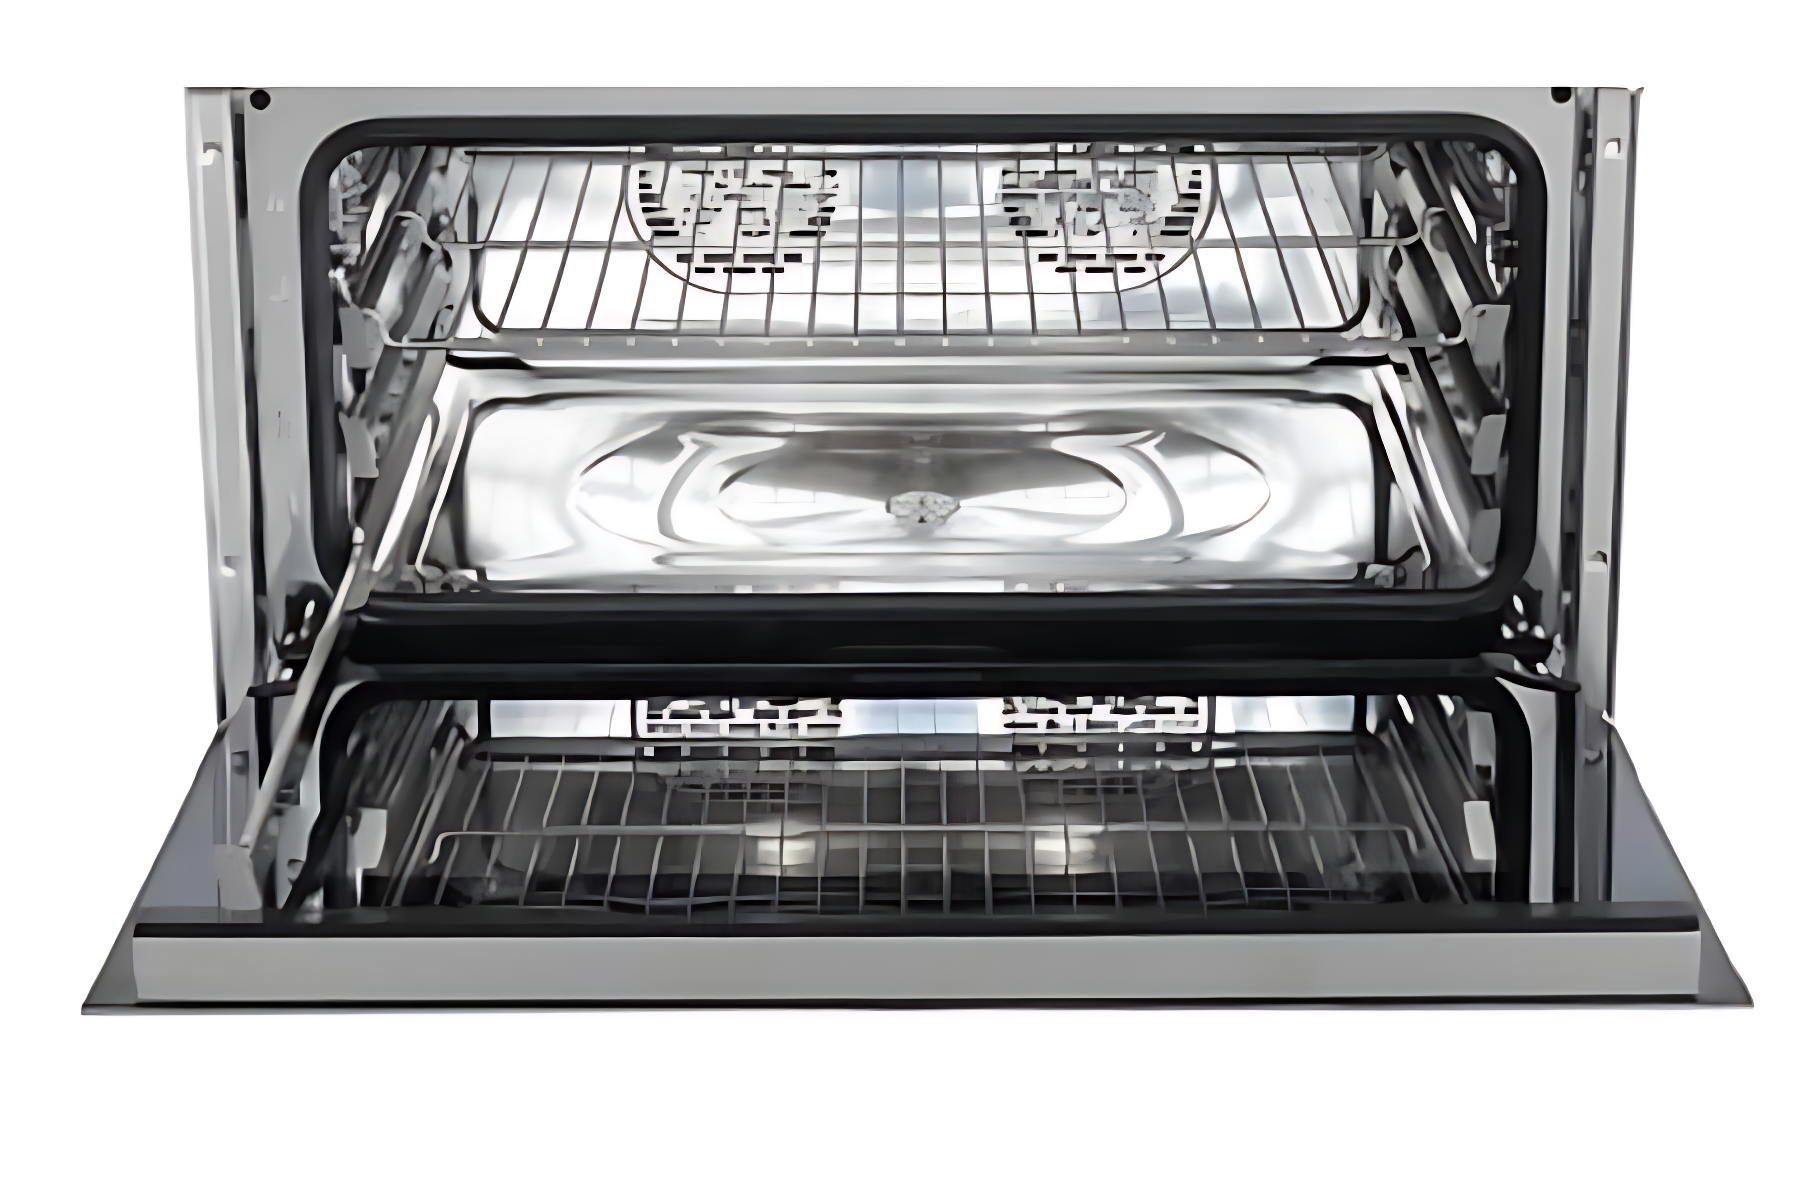
Step 1: Empty It Out
Take everything out. That includes the racks, trays, thermometers, or anything else sitting inside. Set them aside, because we’ll clean those separately. Don’t try to clean around them. Trust me, it’s more of a mess.
Step 2: Wipe Out Loose Bits
Grab a dry cloth or paper towel and sweep up crumbs, burnt bits, and anything that flakes off. This makes the cleaning part easier and keeps you from rubbing grease into every corner.
Step 3: Choose and Apply Your Cleaner
You’ve got two choices here—natural or store-bought. I use both, depending on how bad things are.
If it’s just light grease, I go with a baking soda paste. Just mix baking soda with a little water until it’s spreadable. Smear it on every surface inside the oven, except the heating elements.
If the mess is older or really baked in, I use an oven cleaner. I like to spray it evenly and then shut the door so the fumes don’t get to me. Always wear gloves, and open a window if you can.
Step 4: Let It Sit
This is where most people mess up. The cleaner needs time to work. I usually leave the baking soda on overnight. For chemical cleaners, I follow the label—usually 20 to 30 minutes.
While I wait, I soak the racks in warm soapy water. If I’m feeling ambitious, I toss in a dishwasher tablet. Works wonders.
Step 5: Scrub and Rinse
Use a damp sponge or cloth to start wiping everything down. For baking soda paste, I sometimes spray vinegar over it first—it foams and helps lift the grime. For chemical cleaners, wipe until you’re sure nothing’s left behind.
If something’s still stuck, I use a plastic scraper. Never metal. It can scratch the interior or the glass.
Rinse your cloth often. You don’t want to smear greasy paste around.
 1")
Step 6: Dry and Inspect
Dry the inside with a clean towel. Look closely at the back panel, door corners, and around the hinges. These spots love to hold onto grime.
Clean the oven glass with a vinegar-water mix or a dab of dish soap. If it’s cloudy or greasy, rub gently with a non-scratch sponge. Same goes for vents and fans—just be gentle and make sure they’re dry before turning the oven back on.
Put everything back once it’s clean and dry. And give yourself a moment—you’ve earned it.
How to Clean Burnt Sugar from Oven
Choose Your Cleaner: Natural vs. Commercial
Over the years, I’ve tested all kinds of cleaners—some from my pantry, some from the store. What I use depends on how bad the mess is and how much time I have.
Natural Cleaners I Trust
If the oven just needs a refresh or I’m avoiding harsh smells, I go the natural route. It’s easier on my nose and better for the environment.
Baking soda paste and vinegar is my go-to. I mix half a cup of baking soda with a few tablespoons of water until it’s spreadable. After letting it sit overnight, I spray vinegar over the dried paste and wipe it clean. It fizzes and loosens grime like magic.
Lemon steam method is great for quick cleanups. I slice a lemon, toss it in an oven-safe dish with water, and heat it at 250°F for 30 minutes. The steam softens grease, and the lemon cuts the smell.
Castile soap and hot water works well for light grease or a weekly wipe-down. I dilute a few drops in warm water, dip in a sponge, and scrub gently. It’s mild, but effective for everyday messes.
When I Use Store-Bought Oven Cleaners
When my oven’s been through heavy roasting or weeks of neglect, I reach for commercial cleaners. They work faster and break down thick layers of grease without much elbow grease.
The key is using them safely. I always wear gloves, open windows, and follow the label. I never spray directly on the heating elements. Most of the time, I let the cleaner sit for 20 minutes and wipe it out with a damp cloth.
I’ve tried both foaming and gel types. I find gels cling better to the sides, especially on vertical surfaces.
 2")
What Works Better for Tough Grease?
For deep, burnt-on gunk, the store-bought stuff works faster. No question. But for regular upkeep, I prefer natural methods. They’re cheaper, safer, and don’t leave a chemical after-smell.
If I’m being honest, I use both. There’s no rule that says you can’t mix methods. Some days I do a deep clean with a commercial cleaner, then switch to baking soda paste every few weeks to stay ahead of the mess.
The trick is knowing what your oven needs—and not waiting until it’s a disaster.
What About Special Ovens?
Not all ovens clean the same. I’ve worked with a few different types over the years, and each one comes with its own quirks.
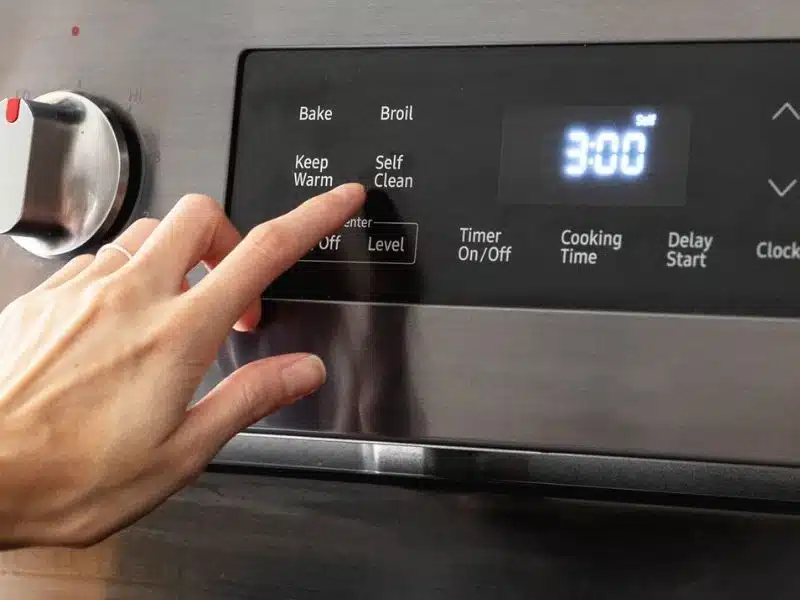
Self-Cleaning Ovens
These sound like magic, but they’re not completely hands-off. When you hit the self-clean button, the oven heats up to around 900°F. It incinerates food residue and turns it into ash.
Here’s the part many people skip: once it cools down, you still need to wipe out that ash. I use a damp cloth and go over the bottom and sides. Don’t forget the corners and door seal—ash loves to hide there.
Never use commercial oven cleaners with self-cleaning ovens. It can damage the interior coating. I made that mistake once and learned the hard way.
Read the full guide on how to clean a self-cleaning oven the right way.
Convection Ovens
These have a fan that helps circulate heat. Great for even baking, not so great for cleaning. That fan traps grease and crumbs fast.
I always unplug the oven before cleaning the fan area. A small brush or cloth works best. Be gentle—those blades aren’t built for rough scrubbing.
Read my full guide on how to clean a convection oven
Steam Ovens
Steam ovens stay cleaner than most, but they still need attention. Don’t assume the steam will handle everything.
I wipe mine down after every few uses. The trick is to remove excess moisture. Otherwise, it starts to smell weird. I also clean out the water reservoir regularly with warm soapy water.
Check out my special guide on How to Clean a Steam Oven – the right way.
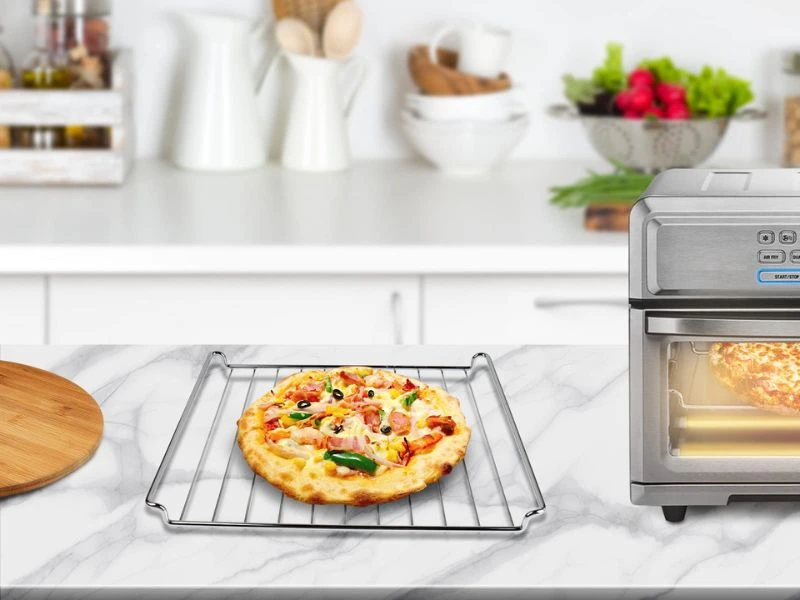
Pizza Ovens
Ah, the pizza oven. Nothing burns on quite like cheese at 600°F.
If it’s wood-fired, ash builds up fast. I use a metal brush and ash shovel to clean it out after each use. For electric or gas ones, I let it cool, then scrape off whatever’s baked onto the floor.
Keep in mind, high-heat ovens hold onto flavor. If you leave burnt crumbs inside, you’ll taste them the next time.
Read my in-depth guide on cleaning pizza ovens, where I cover the three main types of pizza oven cleaning methods!
What Not to Do (Mistakes I’ve Made So You Don’t Have To)
Let me save you some regret with a few things I’ve learned the hard way.
Don’t Use Steel Wool on Glass
I once thought I could scrub that cloudy oven door back to clear with steel wool. Bad idea. It scratched the glass, and I had to live with it. Use non-scratch pads or soft cloths instead.
Don’t Go Heavy on Cleaner
More cleaner doesn’t mean more clean. It just leaves residue that’s hard to rinse. If you’re using a spray, less is more. I always wipe at least twice—once with a wet cloth, once with a dry one.
Never Clean a Hot Oven
It feels like a shortcut, but it’s not. I tried wiping the oven when it was still warm and burned my hand. The cleaner also evaporated too fast to work. Always let it cool completely.
Don’t Forget the Hidden Spots
Fans, vents, hinges, and door seals trap grease fast. Ignoring them means the smell sticks around even after a full clean. I now use a soft toothbrush to get into those tight areas. It makes a difference.
Check this out: an in-depth guide on common oven cleaning mistakes
My Go-To Shortcuts and Cleaning Hacks
Over the years, I’ve found a few tricks that make oven cleaning less of a battle. These are the ones I always come back to because they actually work and don’t take all day.
Baking soda overnight trick
If the grease is thick or baked-on, I mix baking soda with water to make a thick paste. I spread it across the messiest parts of the oven and leave it overnight. The next morning, I wipe it down with a damp cloth. It lifts off most of the grime without a fight.
Lemon and hot water steam
This is perfect for light cleaning or when I just want to freshen up the smell. I slice one or two lemons, drop them in a heat-safe dish filled with water, and bake it at 250 degrees Fahrenheit for 30 minutes. The steam softens the residue inside. Once it cools, I give everything a quick wipe.
Dishwasher tablet for the glass
Yes, this sounds strange, but it’s brilliant. I dip a dishwasher tablet in a little water until it’s just damp. Then I gently scrub the oven glass with it. It cuts through grease better than anything I’ve tried. Just don’t press too hard, and make sure to wipe away the film it leaves behind.
Soaking racks in the tub without wrecking it
I lay a towel down in the bathtub to protect it from scratches. Then I fill the tub with hot water and dish soap, drop the oven racks in, and let them soak for a few hours. After that, a quick scrub with a sponge is usually enough to get them clean.
Keep It Clean With Less Effort
The best way to make oven cleaning easier is to stop messes from building up in the first place. A few small habits can save you hours down the line.
Wipe after messy meals
If something splattered or bubbled over, I wipe it once the oven has cooled. It takes less than two minutes and keeps grease from turning into burned-on crust.
Check out our in-depth guide on how to remove burnt food and stubborn oven stains.
Use a baking tray to catch spills
Any time I bake something messy, I slide a tray on the rack underneath. It catches drips and crumbs and is much easier to clean than the oven floor.
Monthly fifteen-minute refresh
Once a month, I do a fast wipe-down with soapy water or baking soda paste. Nothing fancy. I just clean the obvious spots before they turn into trouble.
It doesn’t have to be a chore if you stay ahead of it. A few minutes here and there can save you hours later, and your food will thank you for it.
Frequently Asked Questions
Can I clean my oven with vinegar alone?
Vinegar works well for light grease and surface cleaning, but it won’t cut through heavy baked-on messes by itself. I usually pair it with baking soda for a more effective clean.
Is it safe to leave oven racks in during self-cleaning mode?
It’s not recommended. The high heat can discolor or warp your racks. I always take them out and clean them separately using a soak or scrub method.
What’s the best way to get rid of oven smells after cleaning?
After a deep clean, I place a small bowl of baking soda or coffee grounds inside the oven overnight. Both help absorb lingering odors without leaving a scent behind.
Can I use a vacuum to remove crumbs from the oven?
Yes, as long as the oven is completely cool and unplugged. A handheld vacuum is helpful for dry crumbs, especially in corners and around the door seal.
Are silicone oven liners safe to use?
They can help catch spills, but only use liners that are marked oven-safe and avoid placing them on the heating element. I place mine on the lower rack, never the bottom floor of the oven.
What’s the best way to clean the oven light cover?
I unscrew the light cover carefully and soak it in warm soapy water. Once it’s dry, I screw it back on. Just make sure the oven is off and cool before doing this.
Can I clean the oven with dish soap?
Absolutely. Dish soap and warm water work great for everyday wipe-downs or post-meal messes. It’s safe, gentle, and leaves no harsh chemical smell.